Snowy NYC Nights
Have you ever had an idea rattling inside your head, just waiting to be brought to life? Well, it happens to me a lot. Finding the time to execute those ideas is challenging, but I stole an hour away from my orders to cookie the city I love the most by putting it into a magical snow globe cookie. What I like about this custom cookie is that it can be any city, scene, or monument. They can be passed around for Secret Santa, given as a Chanukah gift, used as Christmas tree ornaments ( cut a small hole into the top before baking), and, of course, eaten!
Here’s what you’ll need:
- Rolling Pin (guides will help keep your dough an even thickness.
- Your Favorite Cookie Dough Recipe
- CookieCutterKingdom’s Snow Globe Cookie Cutter (I prefer 4” since we are doing a detailed cookie)
- Royal Blue AmeriColor Gel Food Coloring
- Black Americolor Gel Food Coloring
- Piping Bags/Piping Bottles
- Decorating Tips 1 & 2
- Optional: Silver Luster Dust and a little bit of Vodka (for decorating…and maybe a little for drinking)
Start by rolling out your cookie dough to 3/8” thick and use your snow globe cookie cutter to make a nice, clean cut by pressing it down and giving it a little side to side wiggle.

While your cookies are cooling, make grey and white royal icing. Piping consistency for the grey and 15 second for both. Piping icing is the consistency of a smooth soft serve ice cream and holds a soft peak. 15 second icing refers to the length of time it takes a line, cut into the icing with a spoon, to disappear.
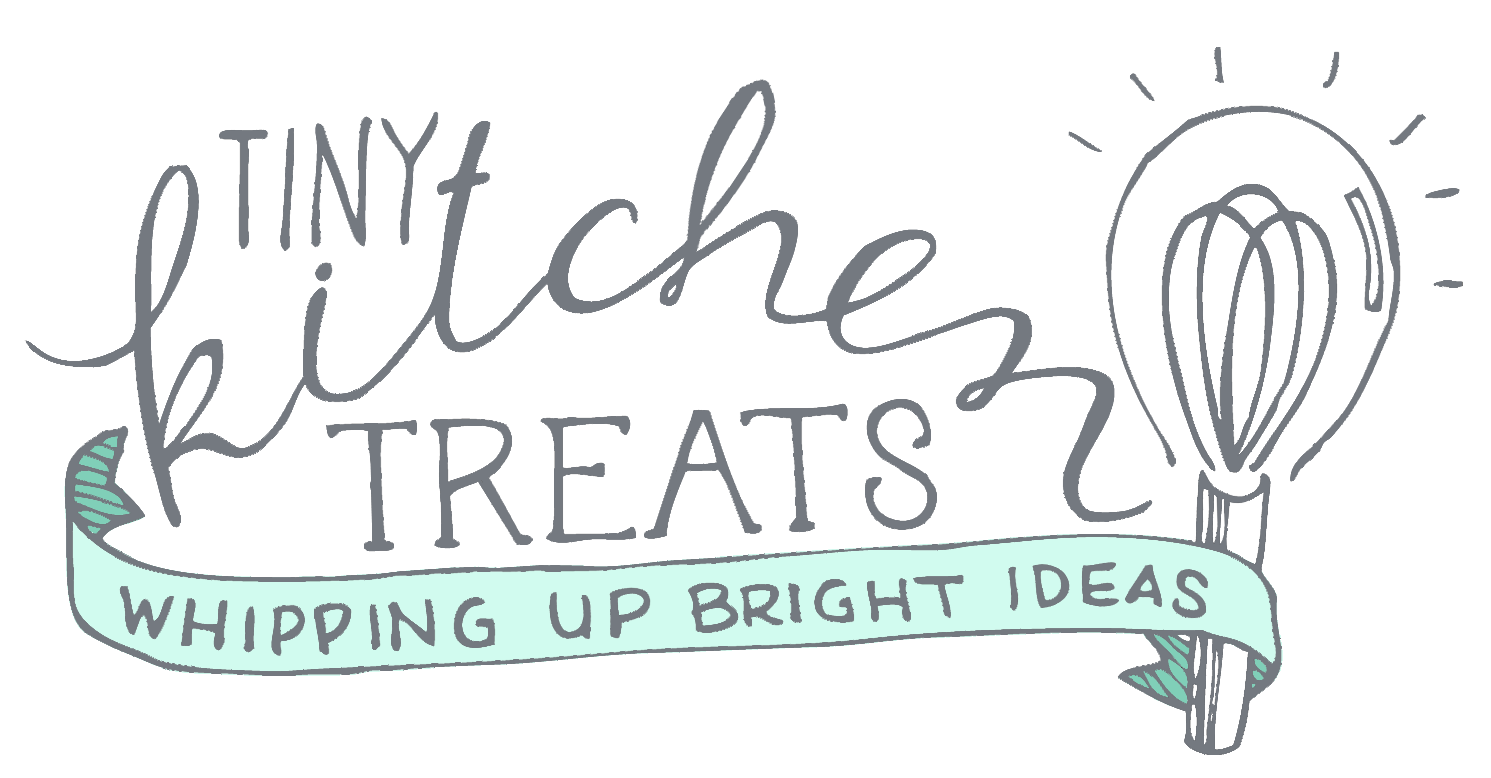
Begin decorating by outlining the globe with your grey piping consistency royal icing. I like to put anything for outlining or writing into a piping bag- either tipless or the regular- depending on whether I think I’ll need to use the same icing for different uses or not. In this case, I didn’t so I used my handy dandy tipless bags.
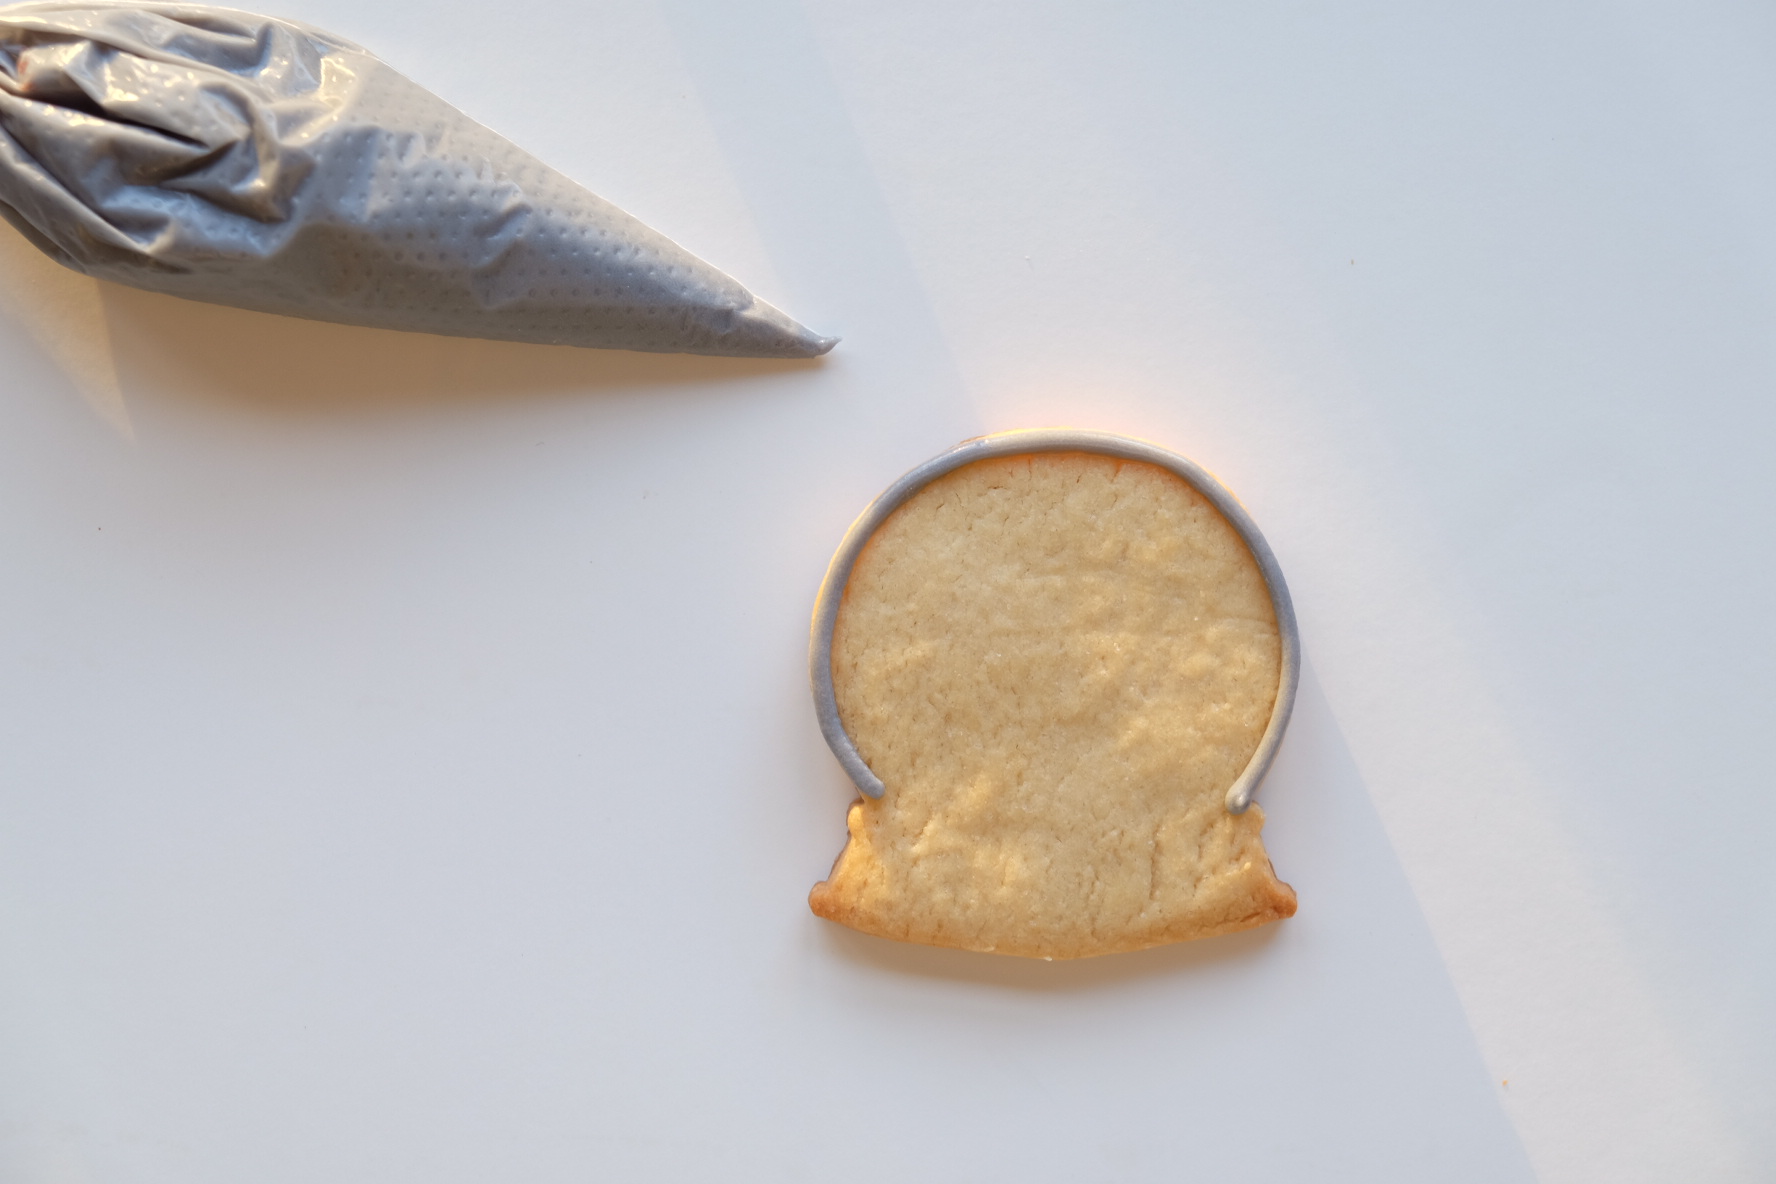
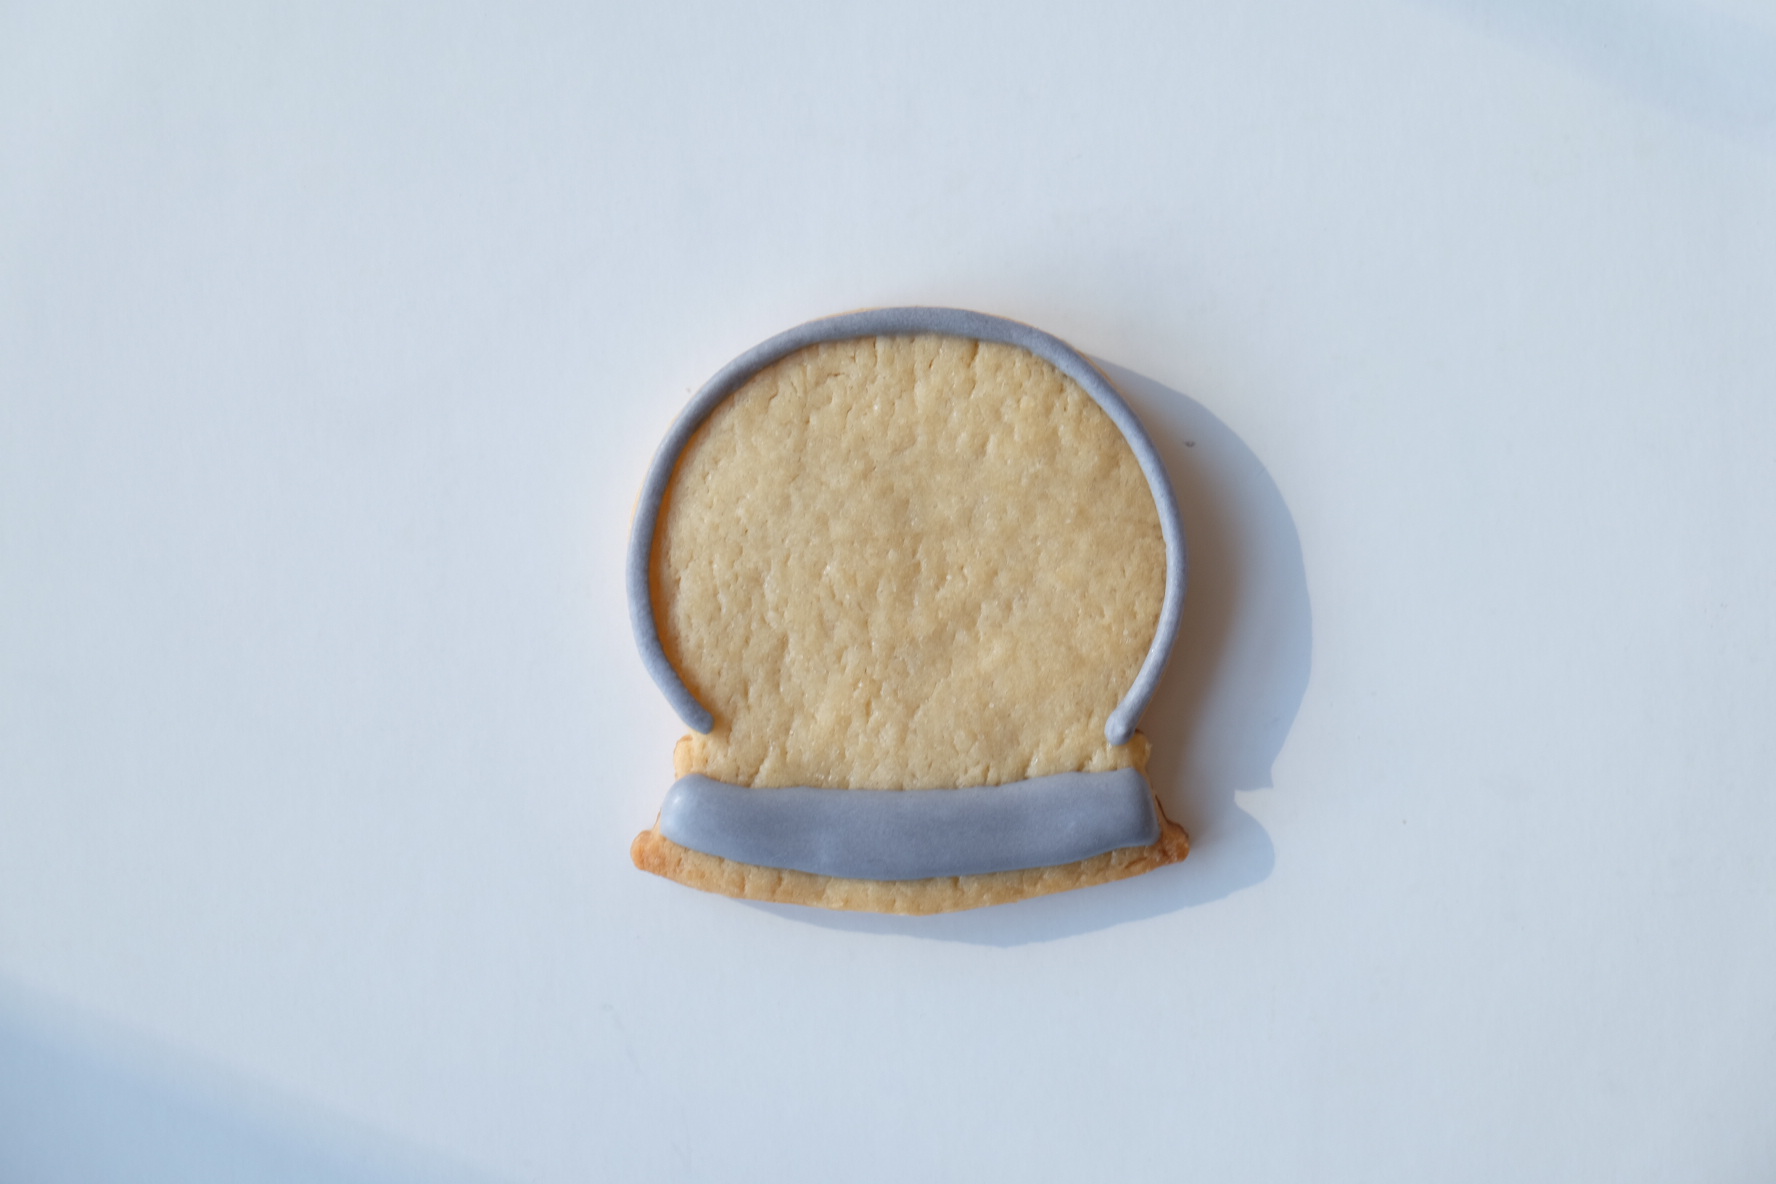
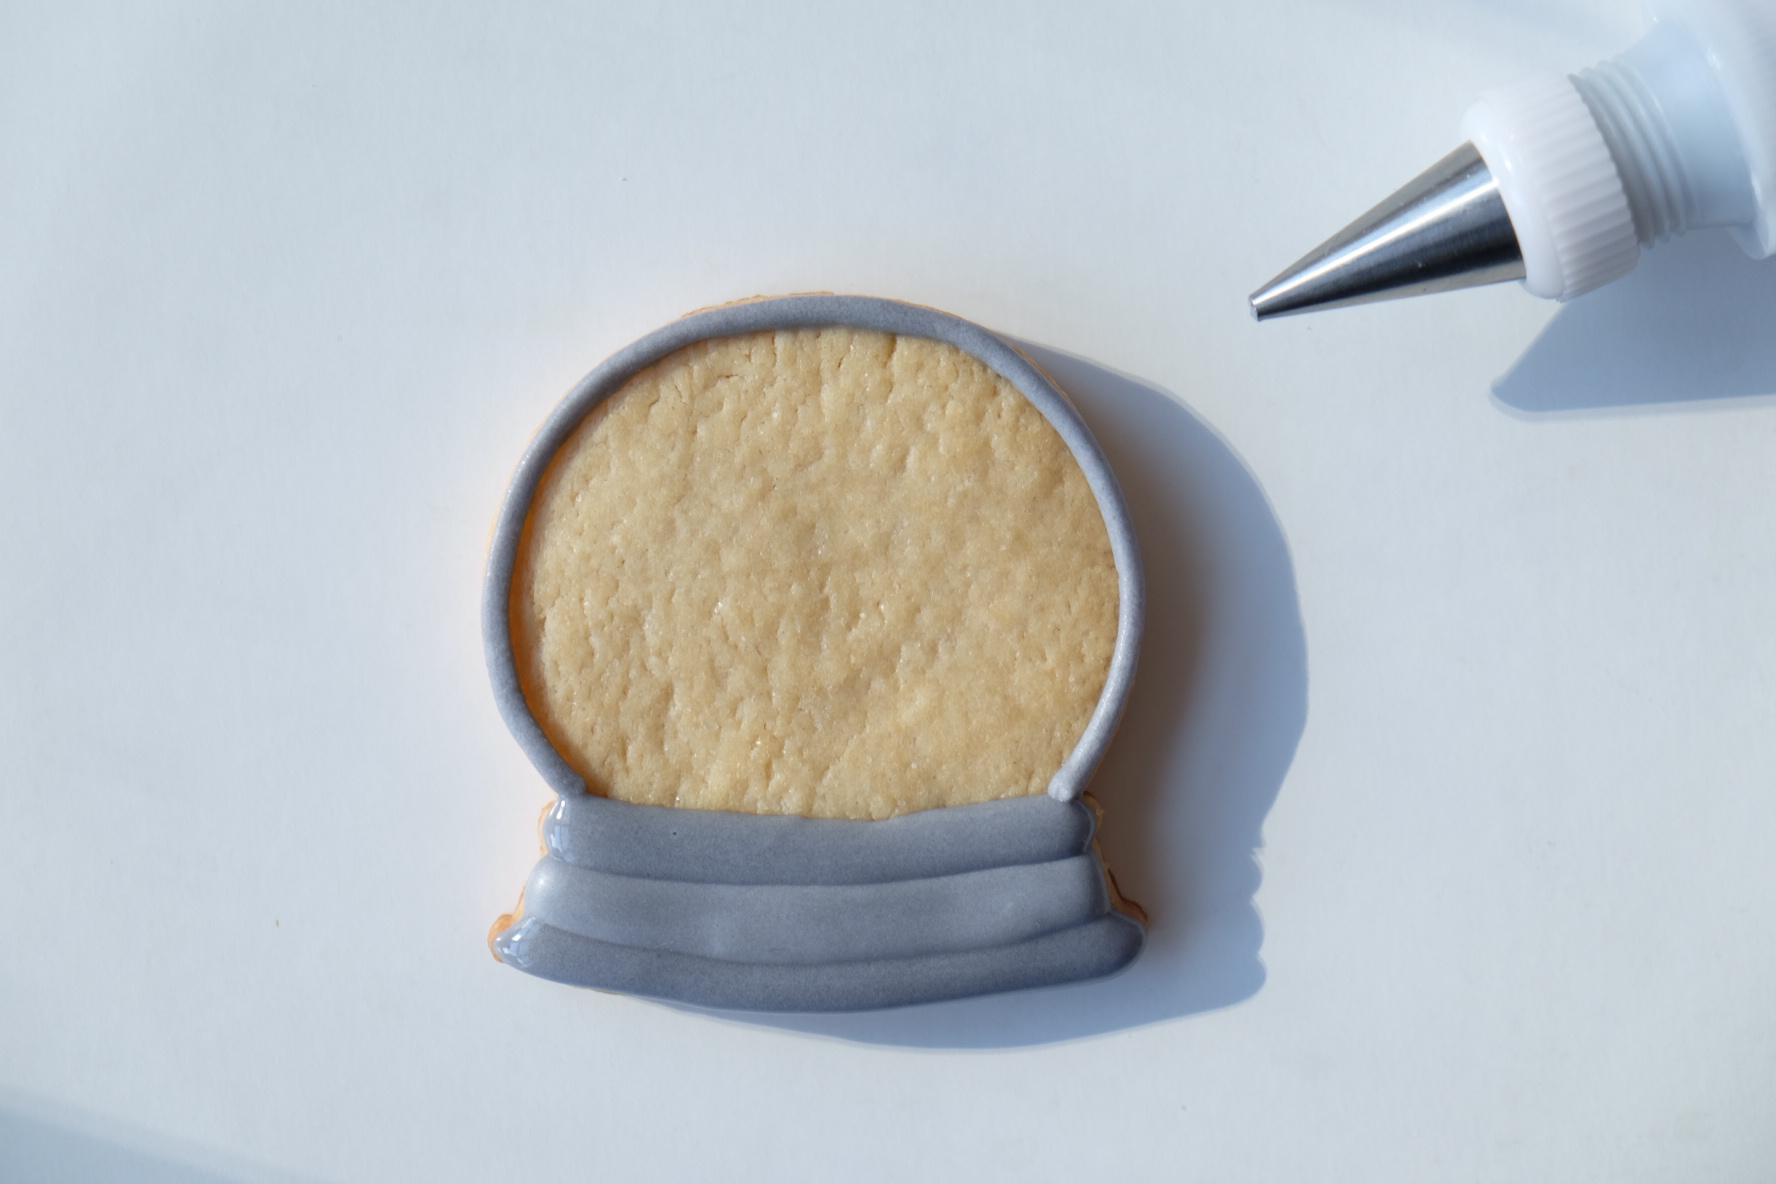
Then, using the same color, but this time as 15 second icing, pipe the snow globe’s base. Let it dry for a good 10 minutes or until you see that the outer layer has dried enough so that you can add the top and bottom of the base and get that nice dimension. I use my handy dandy icing bottles for this kind of stuff because I find that it’s less messy (Decorating tip size 2/3 will do the job).
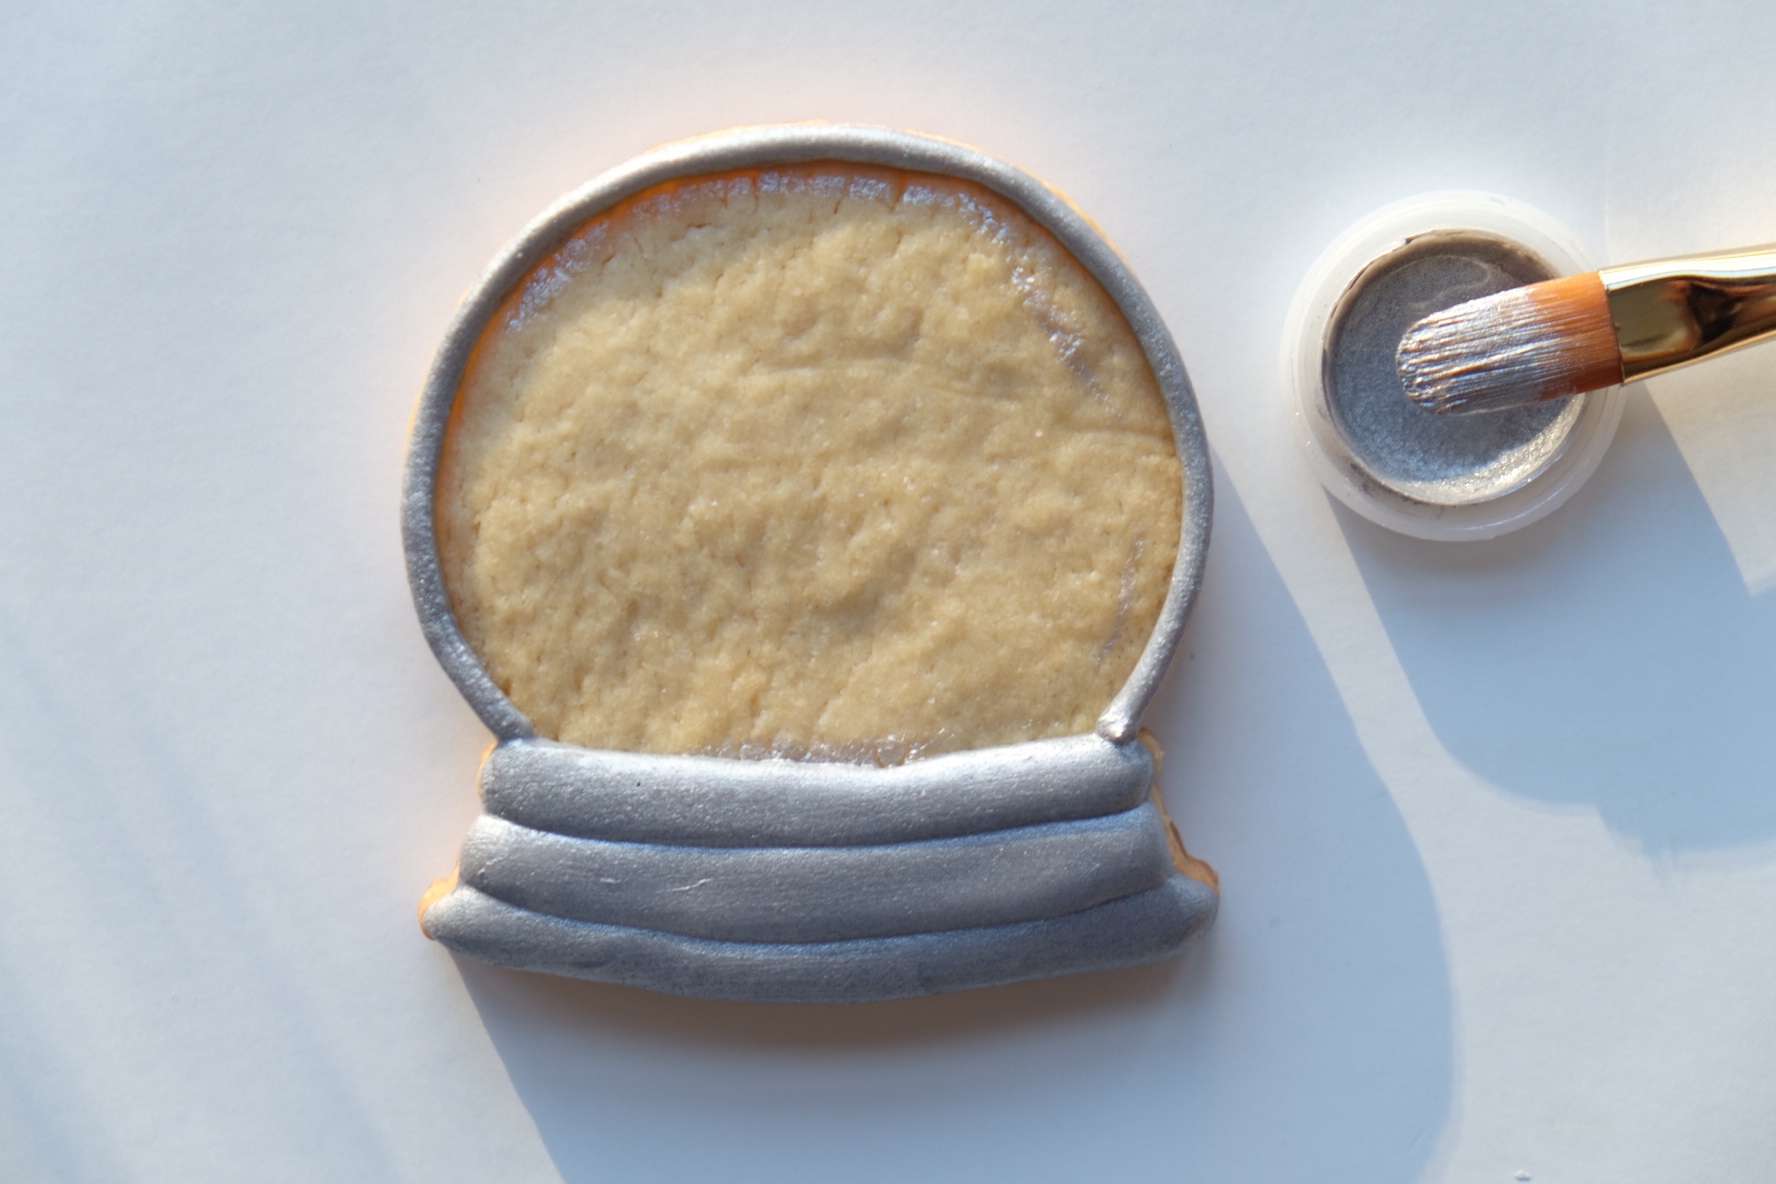
Using silver luster dust mixed with vodka , paint the base and outline of the snow globe. Make sure to use vodka and not water. Why? Well, because the vodka evaporates quickly (due to its alcoholic content) so your sugar doesn’t melt. Water is dry royal icing’s arch nemesis and will eat through your nice smooth finish (this can also happen with vodka, so be sure not to use too much), but who could blame it. I mean, your biggest challenge here is going to be not eating this cookie while you make it.
Fill the snow globe with white royal icing (decorating tip size 2 or 3). I used 15 second here as well. I find that anything thinner encourages overflow and air bubbles.

Let this dry as long as possible, preferably overnight, but 6-9 hours will do. This way, you don’t have to sweat bullets while you’re painting. I’ve done it with the icing not dry all the way through so it’s possible, but it’s really suboptimal since a slight bit of too much liquid or pressure could break your icing. **If this happens, don’t worry- take a knife or a small spatula and scrape it off and start again.
Dilute royal blue gel food coloring (I like to use AmeriColor) with vodka and get your Bob Ross on. This can be a light blue sky, like at dusk, or a deep midnight blue. I found that the deeper blue provided for more contrast with the **SPOILER ALERT** glitter and snowflakes.

Now paint on your sky line with black gel food coloring mixed with vodka. This is where you can kind of do your own thing and paint something from your hometown or favorite city.
Using the same 15 second royal icing, but with Ateco tip 1 or 2 (1 is better since it will allow for easier control/smaller detail), dot snow onto your skyline. The secret here is to make the snow random and in different sizes.

Now sit back and enjoy your little work of art. Remember that you too can whip up your own bright idea and make it your own. Happy treat making!
